There are just a few steps in the Exness boarding process to get you started with trading. It involves creating an account, verifying your identity, setting up your account, depositing funds, and then you’re ready to trade. It’s designed to be quick and easy, so you can start trading in no time at all.
Introduction to the Exness Boarding Process
Opening an account with Exness is relatively straightforward. The process is built to walk you through it step by step. This makes sure that your account is secure and ready to be used for trading. Exness sets things up so you can follow along from registration to your first trade.
The aim is to get you established with a secure account, identity verified, and comfortable using the platform. Once these are done, you’re good to go on trade. Let’s break down each part of the process.
Step 1: Exness Registration Process
Open an Exness account It is very simple and only takes a few minutes. Visit the Exness website and select “Open Account”. You will have to enter your name, email and phone number. Once you fill in your details, you will get an email or sms with a code as a confirmation.
After you verify your contact information, you’ll set a password and specify the kind of account you want. Exness provides a range of account types to match your trading preferences. Once you have done this, your registration is complete and you can proceed to the next step.
Step 2: Account Verification (KYC)
Next up is Identity verification (KYC) This is an important security measure to help keep you and the platform safe. You will need to upload a pair of documents. The first is evidence of your identity, like a passport, national ID or driver’s license. The second is proof of your address, such as a utility bill or bank statement from the past 3 months.
You need to upload these documents, and Exness will check them. This process usually takes only a few hours, but may take up to 24 hours in some cases. After your documents are verified, you’ll receive notification that your account is set to go. You’re one step closer to now being able to trade.
Step 3: Account Setup and Configuration
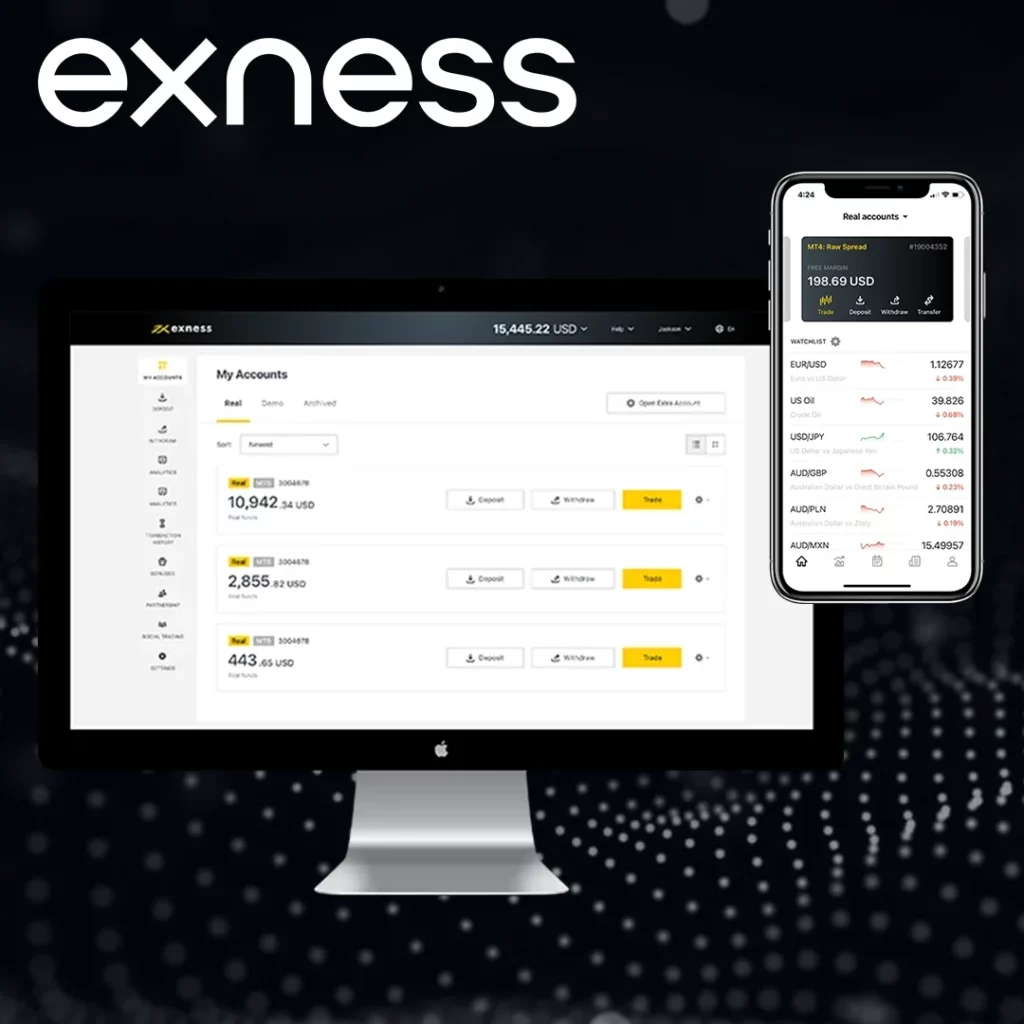
After the validation of your account now comes the time to set up your account for trading. This means setting up your account to better suit your needs. You will begin with a selection of the currency in which you will create your trading account. Choose a currency from the ones shown in exness.
Also, you can download and configure your trading platform: MetaTrader 4 (MT4), MetaTrader 5 (MT5), Exness WebTerminal. Adjust the platform to fit your needs, such as choosing your chart types, adjusting your preferred time zone or typing in indicators that are relevant to your trading type.
When your account is configured and prepared, you will be all set to finance your account and begin exchanging.
Step 4: Making Your First Deposit
Now that your account is set up, move to funding it. To make a deposit on its platform, Exness supports bank transfers, credit cards, e-wallets, and other methods. Selecting a payment method that best suits your needs. It’s just that simple: navigate to the deposit section in your Exness account, select your payment method, and comply with your screen’s instructions.
Deposits are instant with Exness and your money should be in your account shortly. It could be a few hours with some providers. When you’ve completed your deposit you are ready to begin trading.
Step 5: Getting Started with Trading
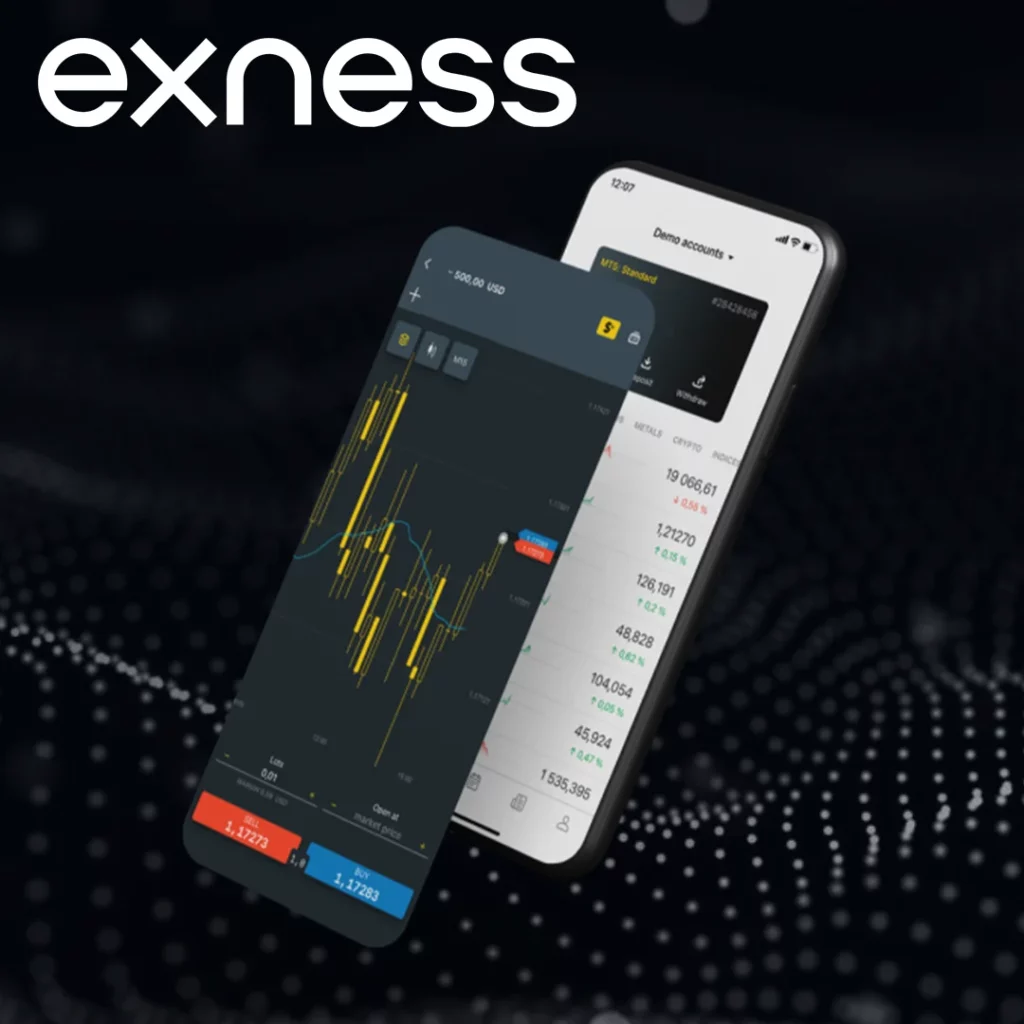
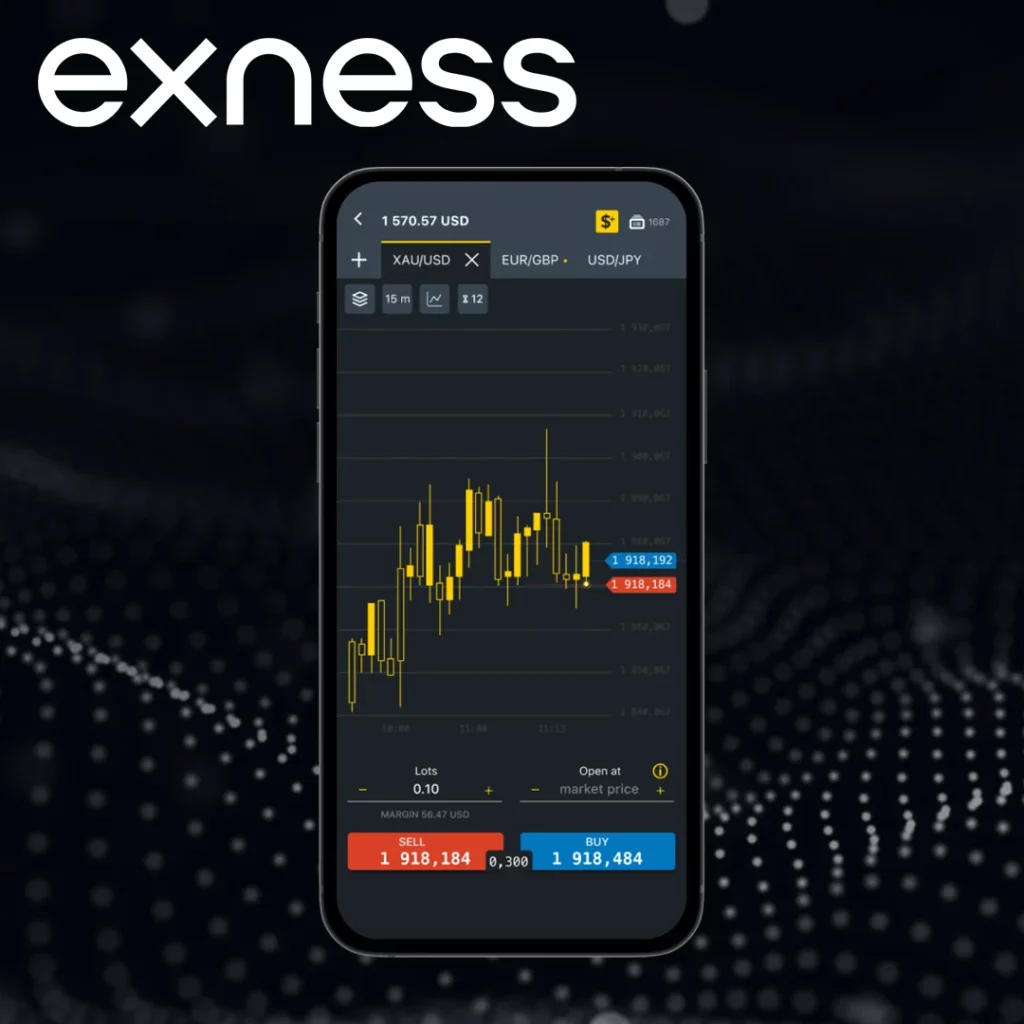
After you fund the account, you should be able to trade. Log into the trading app that you created (MT4, MT5, or WebTerminal) and check out the markets. Exness provides plenty of instruments ranging from Forex to commodities and Indices.
Take some time to get to know the platform features before diving into trades. In case, you must set up your charts, indicators, and test strategies in a demo account, do so. Finally, once you feel ready, you can begin entering your first trades. The Exness platform is user-friendly so you’ll get started in no time.
Common Issues in the Exness Boarding Process
While the Exness boarding process is usually simple, some users might run into a few issues. Here are a few common problems and how to solve them:
1. Registration Issues:
Sometimes, during registration, users might accidentally enter incorrect details, like a wrong email or phone number. Double-check all your information before submitting it. If you get an error, try refreshing the page and re-entering the details.
2. Verification Delays:
The KYC process (Know Your Customer) can take some time, especially if there’s an issue with your documents. If your documents are blurry, outdated, or don’t meet the platform’s requirements, the verification might be delayed. To speed things up, ensure your documents are clear, recent, and meet the specific guidelines. If there’s still a delay, contacting Exness support can help resolve the issue.
3. Deposit Problems:
Occasionally, deposits may take longer to process or fail. This might happen if the payment method you used is not supported or if there’s a mistake with your payment details. To avoid this, check that you’re using a supported payment method and confirm that your payment details are correct. If the issue doesn’t get fixed, don’t hesitate to reach out to Exness support.
4. Platform Access Issues:
Some traders may face problems accessing the trading platform after registration or installation. This can be due to outdated software or incorrect settings. Try restarting the platform, checking for updates, or reinstalling the app. If the issue continues, make sure your device meets the system requirements or get in touch with Exness support for further help.
Understanding these common issues can help you avoid delays and quickly move forward with your trading journey.
Conclusion: Smooth Sailing with the Exness Boarding Process
The installation process for Exness is simple and quick. Once you’ve signed up, verified your account, configured the platform, and deposited some initial funds, you will officially be ready to begin trading. There may be a few bumps in the road, but most things are easily remedied. It provides clear roadmap and helps you through the process with customer support in case of difficulties. You’ll be ready to start trading once you’ve gone through the process.
Frequently Asked Questions (FAQ)
How long does the Exness onboarding process take?
The Exness onboarding process is typically fast. Registration can take just a few minutes, while account verification (KYC) may take a few hours, or up to 24 hours. After verification, making a deposit and starting trading is almost immediate.